Knitting Basics | How to knit a stitch
PSA: knitting a stitch is the one basic technique that
everyone needs to know. Remember the knitted cast on technique? Well, knitting
a stitch follows the same basic steps too but you’ll be knitting each stitch
instead of creating new ones - hence why it's also known as a knit stitch. If
you’re not ready to knit your first project, that’s cool. You can practice
knitting swatches until you get the hang of the knit stitch. So, grab your
yarn and knitting needles and start practicing!
In most knitting patterns you will see instructions like “knit
every stitch until end of row” or simply the abbreviation “K” for knit. That’s
why it’s vital for you to learn how to knit a stitch in order to even finish
the simplest knitting projects. Moreover, different stitch styles require a
combination of knitting or purling stitches to form textured patterns.
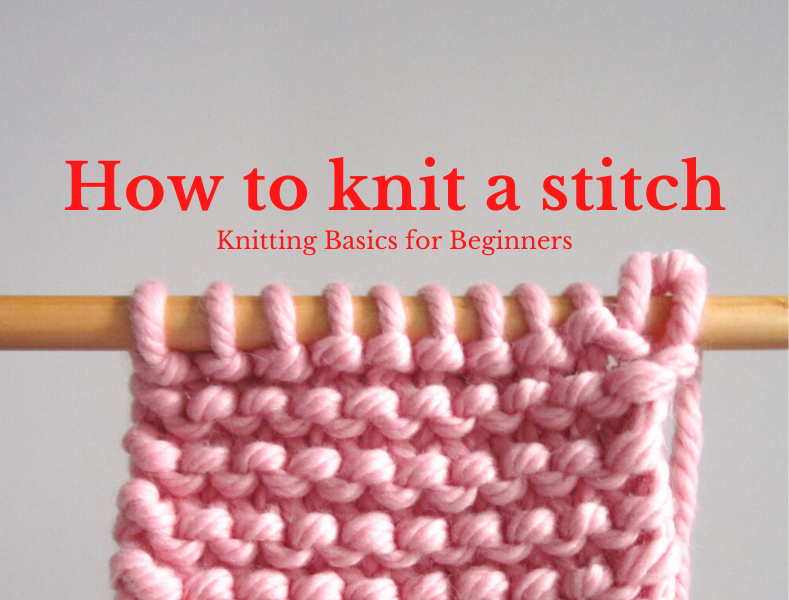
A knit stitch looks like a V-shaped stitch as opposed to a purl stitch*, which looks like a little U-shaped bump. If you continuously knit every stitch on every row, you’ll eventually get a garter stitch (see above photo) that is a combination of both knits and purls.
*FYI a purl stitch is basically the opposite of a knit stitch, which you’ll learn how to do in the next post.
Let’s knit
Step 1
First, cast on a desired amount of stitches. Insert the right-hand needle
under the first stitch from the bottom right side (aka front to back, left to
right).
Step 2
Wrap the working yarn around the right-hand needle counter-clockwise. The
working yarn should sit between the needles.
Note: if you’re right-handed, hold the working yarn in your right hand to wrap it around the needle – this is known as the English knitting style. If you’re left-handed, then perhaps the Continental knitting style will work better!
Note: if you’re right-handed, hold the working yarn in your right hand to wrap it around the needle – this is known as the English knitting style. If you’re left-handed, then perhaps the Continental knitting style will work better!
Step 3
Slide the right-hand needle tip into the space between the
left-hand needle and wrapped working yarn, catching the yarn and bring it
forward. A new stitch will have formed on the right-hand needle.
Step 4
Slide/ release the old stitch off the left-hand needle so
the newly knitted stitch is on the right-hand needle. Slightly tighten the new
stitch to maintain even tension in your work.
Step 5
Keep repeating steps one to four until the end of the row.
When you get to the end of your row, swap your knitting needles around.
Continue knitting every row to create the garter stitch.
Tip! Count how many stitches you have at the beginning of
your project to ensure you don’t accidentally add new stitches throughout the
process. Another important thing to remember is to maintain tension with your
working yarn so that your swatch/ work looks even. But don’t make the tension
too tight otherwise it’ll be too hard to knit, and don’t make the tension too
loose otherwise your work will have holes.
Still finding it awkward to knit? Don’t worry – that’s
totally normal. Keep practicing the garter stitch until you build up the muscle
memory and motions of knitting. Then you’ll be able to knit the garter stitch
while watching Netflix without having to bat an eye!
Until next time, stay golden ya nerds.
- Del


Comments
Post a Comment