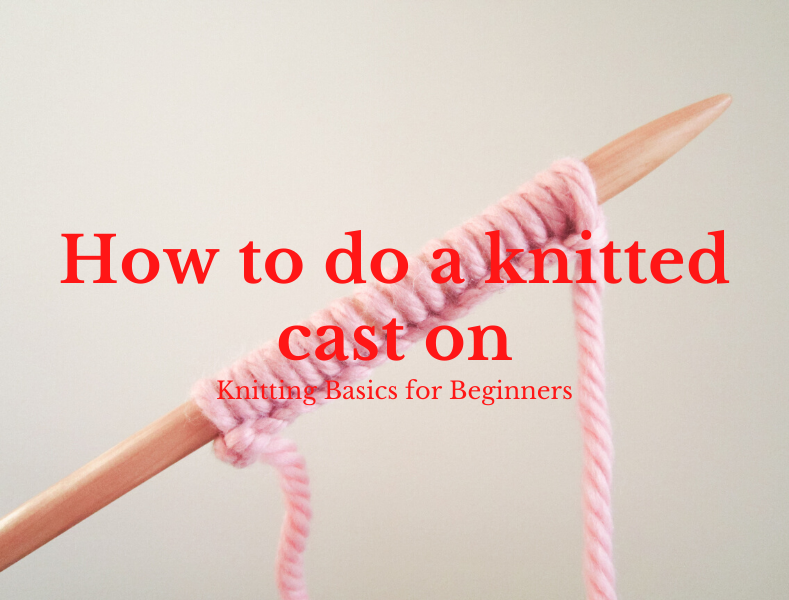
Knitting Basics | How to do a knitted cast on for beginners
Now that you’ve learnt how to do a slip knot, you’ll have to
cast on a number of stitches to begin your knitting project. Basically, casting
on is the first row of stitches on a knitting needle. Depending on the project,
there are several different ways to cast on – single tail cast on, long tail
cast on, cable cast on, and knitted cast on. Today you’ll learn how to do a
knitted cast on, which is great for beginners since it teaches you the basic
steps on how to knit a garter stitch too. So, that’s pretty dang sweet in my
books.
Should you learn the knitted cast on? Yes, because:
- You’ll learn the fundamentals of a garter stitch
- You can cast on an unlimited amount of stitches (no need to measure out yarn)
- The knitted cast on is the easiest method to learn for beginners
- The knitted cast on is stretchy/ elastic, which works for different knitting projects
- You can use it to cast on extra stitches in the middle of a project.
The list goes on, but I think you get my point. Once you get the hang of the knitted cast on, you'll start building up that muscle memory and start casting on without batting an eye. So, let's get started!
Step 1
Create a slip knot and thread it onto your knitting
needle. Tighten the slip knot until it’s snug. Don’t make the knot too tight or
it’ll be hard to continue.
Grab the other knitting needle with your right hand.
Slide the right-hand needle under the first stitch from the bottom right side.
The right-hand needle should come out behind the left-hand needle to create an
X-shape as shown in the photo. This is known as “opening the stitch”.

Step 3
Wrap the working yarn (yarn coming from the skein/
ball) over the top of the right-hand needle only in a counter-clockwise
direction. Don’t loop the yarn over both needles! The working yarn should be
sitting in between the needles.


Step 4
Holding the yarn with loose tension in your right
hand (the English knitting method), slowly slide the right-hand needle tip down.
Then slide the right-hand needle tip into the space between the left-hand
needle and loop. The right-hand needle should come out in front of the
left-hand needle now. At this stage, ensure you keep the original slip knot on
the left-hand needle and the new loop on your right-hand needle.


Step 5
It’s okay to give the loop some slack at this stage
(it’ll be easier to work with). Now, twist the new loop on the right-hand
needle to the right.

Step 6
Transfer the new loop you just made onto the
left-hand needle by inserting your left-hand needle into the loop from front to
back. Since the loop is now on the left-hand needle, it’s safe to remove the
right-hand needle. Tighten the loop so it’s snug against the needle.


And there you have it – the knitted cast on.

Tip! Don’t tighten the stitches on your knitting too much. It’ll be harder for you to insert your needle into the stitches and to comfortable knit. The stitches should move easily and be somewhat snug on the needle.
From here, you can continue to cast on as many
stitches you need for a project. While it’s not the fastest cast on technique,
the knitted cast on is one of the easiest and beginner-friendly methods to learn.
As with any thing, be patient and take your time to learn it to build up your
knitting fundamentals.
Until next time, stay golden ya nerds.
- Del


Comments
Post a Comment